Ok, so this last tutorial is nothing life changing, but it is a fun and easy way to add more color to your party! My original plan was to make some kind of burlap pennant garland for Haley's Up! birthday party, but then I decided I wanted to add more color. Because obviously color is on thing that is lacking with this birthday ;)
This project is super simple, and all you need are 3 supplies - yay!
Supplies:
- Pom poms
- Embroidery floss
- Needle
First, measure out how long you want your garland to be and trim a piece of embroidery floss to size. Make sure you leave a bit of a tail at the end for tying or taping your garland where you want it. Tie a knot at the very end where your last pom pom will go.
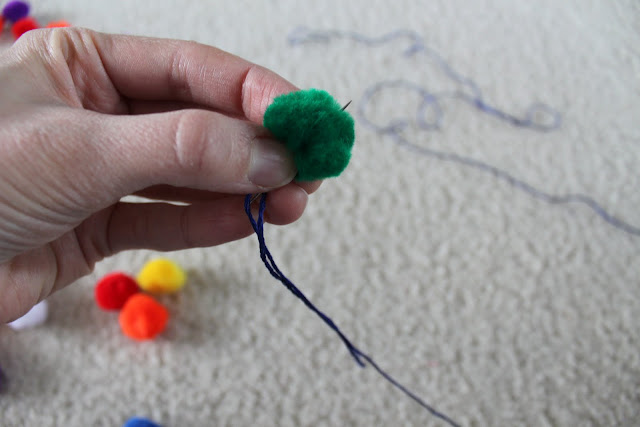
Start threading your pom poms on your needle through the center of your pom poms.
Now thread thread thread! Tie a knot several inches from the end like you did before.
Depending on how many pom poms you have, you could choose to place them really close together or spread them out like I did, both look great! Then, just tape or tie them on wherever you want.
Check out my sidebar to see where I link up each week!


I've done this before and it does look great. I used a glue gun though, rather than a needle and I ended up with a lot of burnt fingers. Your way is much more sensible. Well done!
ReplyDeleteSuper Cute! If Friday is a good enough excuse to hang garland, I might pull it together today.
ReplyDeleteWhat a great idea! Looks good!
ReplyDeleteVery cute! I have some mini pom poms that come in packages with about four different colour gradients - this might be a way to use them in the future :)
ReplyDeleteClaire @ alittlesomethinginthemeantime.blogspot.com
P.S. If you'd like to find out how to make a bunting from paint chips I'd love for you to check out my blog.
Such a cute idea. Thanks!!!
ReplyDeleteSuch a great idea. I wish I had seen this before my rainbow party this last weekend. I'll keep it in mind for the future. So cute!
ReplyDeleteThis is so cute! They would be great in pastels for Easter :-)
ReplyDeleteHow cute! Love this idea!
ReplyDeleteVery cute and festive!
ReplyDeleteYou should join me for Handmade 52 http://raisingoranges.blogspot.com/2012/03/handmade-52-12.html
Love this idea. Would love it in pastels for an elegant baby shower.
ReplyDelete