Showing posts with label Up. Show all posts

Thursday, March 22, 2012

Easy pom pom garland


Ok, so this last tutorial is nothing life changing, but it is a fun and easy way to add more color to your party! My original plan was to make some kind of burlap pennant garland for Haley's Up! birthday party, but then I decided I wanted to add more color. Because obviously color is on thing that is lacking with this birthday ;)

This project is super simple, and all you need are 3 supplies - yay!

Supplies:

  • Pom poms
  • Embroidery floss
  • Needle


First, measure out how long you want your garland to be and trim a piece of embroidery floss to size. Make sure you leave a bit of a tail at the end for tying or taping your garland where you want it. Tie a knot at the very end where your last pom pom will go.


Start threading your pom poms on your needle through the center of your pom poms.


Now thread thread thread! Tie a knot several inches from the end like you did before.


Depending on how many pom poms you have, you could choose to place them really close together or spread them out like I did, both look great! Then, just tape or tie them on wherever you want.


Check out my sidebar to see where I link up each week!

Monday, March 19, 2012

Up! Party: DIY "Ellie Badge" and printable Wilderness Explorer Badges


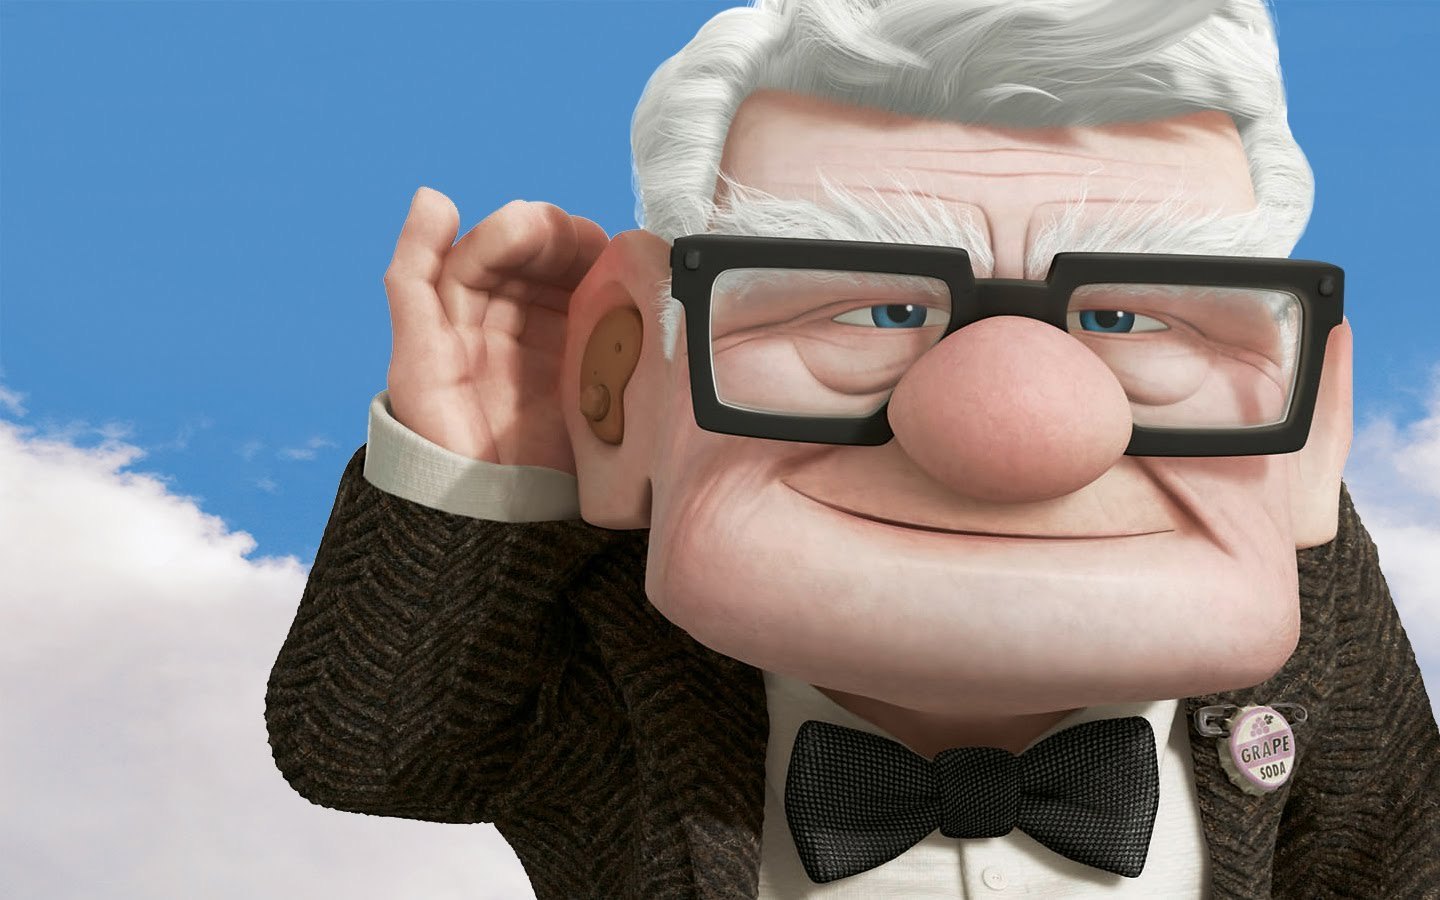
When I first envisioned all the details of Haley's Up! birthday party, I knew I had to make Ellie Badges as part of the giveaways. If you don't know what an "Ellie Badge" is, it's the little grape soda bottle pin that Ellie gives to Carl in the movie when she invites him to be part of her explorer club. Carl continues to wear it throughout the movie, and then gives it to Russell at the end as "the highest honor he can bestow."


I really couldn't have an Up!-themed birthday party without Ellie Badges now could I?? There are several sellers on Etsy that sell Ellie Badges, but I was looking to make my own from scratch because it looked simple enough. And you know what? It was :) Here's what you need to make your own Ellie Badges.

Supplies:
  • Bottle caps
  • Silver spray paint (if your bottle caps aren't already silver)
  • Hammer and a small nail (like one used for hanging pictures)
  • Mod Podge
  • Ellie Badge template free for download HERE
  • Cardstock 
  • Diamond Glaze, Dimensional Magic, or a similar dimensional adhesive
  • Large safety pins
 Step 1: Make holes in your bottle caps.


First, you'll want to gather up your bottle caps. You can tell which brand of beer is the favorite in my house! :) It's ideal if you have bottle caps that are silver but if not, no worries, we'll go over how to fix that later.

Put a bottle cap on a piece of wood or some other surface you don't mind getting nail holes in. I used a soft sanding block in the pictures below, but a wood block would have been a much better choice. Position your nail on the inside of the bottle cap.


Hammer until you get a clean hole that your safety pin will fit through. Repeat for a second hole on the other side. Tip: don't make the nail hole directly across from the first nail hole because it's more difficult to thread your safety pin through. Instead, move the hole several millimeters closer.


Step 2: Spray paint your bottle caps.

If your bottle caps are already silver, you can skip this step. Take your bottle caps outside and spray them with a coat of silver spray paint. I used Krylon metallic silver. Allow to dry.


Step 3: Add your labels.

Print and cut out the Ellie Badge template. A hole punch would be wonderful for this, but unfortunately I don't know if there is one that is the right size, so I just used a pair of scissors and tried my best to cut slowly and carefully.


Next, use a paintbrush to apply a thin layer of Mod Podge to the back of your circle.


Place on your bottle cap, making sure it's centered correctly between the two holes that you made in the top of your bottle cap.


Step 4: Apply your dimensional adhesive.

Carefully outline the edge of your bottle cap with your dimensional adhesive.


Once the outside edge has been lined, flood the rest of the top of your bottle cap with your adhesive. If you have any bubbles, hold a lighter up to the bubble and it will burst. Let the caps dry according to the instructions on your adhesive bottle.


Step 5: Add your safety pins.

After your caps have dried, thread your safety pin through the back like so:


And there you have it, your very own Ellie Badges perfect for an Up! birthday party :) I gave these away to guests as they arrived.


While I was at it, I also made some Wilderness Explorer Badges to go along with the pins. In the movie, Russel is a little boy who is part of the Wilderness Explorers, which is kind of like the Boy Scouts. His goal is to get as many badges as he can to become a Senior Wilderness Explorer.


I originally planned on making felt sashes for each child so that they could color and glue their Wilderness Explorer Badges to it, but I ran out of time. You can download the free Printable Explorer Badges HERE. You could have the child color the badges and glue them on, or it would be fun to have the child complete different activities to earn each badge.


I hope you're enjoying all the details of my daughter's Disney Up!-themed birthday party. Please remember, all printalbes are for personal use only.

Check out my sidebar to see where I link up each week!

Wednesday, March 14, 2012

Balloon wreath


Of all the things I made for my daughter's Up!-themed birthday party, the balloon wreath is the very first thing I did. Since a major part of the movie Up! is centered around balloons, I knew I had to make a balloon wreath for the front door to set the theme. I got the inspiration for the wreath from this one on How Does She? I put my own spin on it, and this is what I came up with!

Supplies:
  • Styrofoam wreath form
  • Crepe paper
  • Balloons
  • Greening pins (u-shaped pins found in the flower arranging section)
  • Embroidery floss
  • Hot glue

First, wrap your wreath form in crepe paper, gluing at the ends with hot glue. If you want to use something sturdier, wrap your wreath form in fabric. I went the easy route, but crepe paper is fragile so you have to watch out for tears as you wrap.


Next, take your greening pins and a balloon and stick them to your wreath form. You want to push the greening pin in around the middle of the balloon to secure. Make sure your balloons are close together so they hide the greening pins.


Repeat this process to make a cluster of balloons. To finish, wrap some embroidery floss around the wreath and glue at the ends.


And now you have a cute balloon wreath, perfect for an Up! birthday...or any birthday party really.


Check out my sidebar to see where I link up each week!

Monday, March 12, 2012

Disney Up! birthday party


Whew, what a weekend! I have been up to my ears in sprinkles and balloons for the past month, but all the hard work was worth it when I got to see my little girl's smile when she saw her Disney Up!-themed birthday party come to life. I drew a lot of inspiration from across the blogosphere, and I have several tutorials to come later in the week after I recover from all the madness ;)

The Invitation


I used Photoshop and Picnik (while I still can!) to make the party invite. I originally wanted to make an elaborate pop up card design, but it ended up being a simple design with a bunch of balloons. Sometimes simpler is better :)

The Decor

I made my own spin on the balloon wreath for our door (tutorial to come!) to set the theme as soon as people walked up to the house. It was an easy project (love those) and I really love how bright and colorful it was.

And of course, there were balloons everywhere. We bought a small helium tank and blew up as many as we could (about 30) and used them to decorate the house and food table.

The Food


For the table, I made a simple pom pom garland to drape across a blue table cloth, and taped bunches of balloons to the back of the table. Then, I got to have fun making lots of colorful snacks.


1. Skewers of fruit with "cloud dip" - marshmallow fluff and cream cheese whipped together
2. Little cups of cut up carrots and celery with ranch dressing in the bottom
3. Marshmallow pops dipped in chocolate and covered in sprinkles
4. Paper cones made out of scrapbook paper and filled with popcorn
5. (Not pictured) pigs in a blanket

The Cake


Then, there was the star of the show - the cake! Haley has been asking for strawberry cake this whole time, so I went the simple route and made a Duncan Hines cake mix and frosted it with a cream cheese frosting that I got from my Better Homes and Gardens cookbook. It was delicious!

For the cute cake toppers, I found this idea from Potter and Butler. I used felt and made the poufs, then I hot glued them to skewers to make really adorable cake poms (and check out Potter and Butler's shop, they sell all sorts of fun cake toppers!)

The Giveaways


On the giveaway table, I made a sign with the Up! house design on it asking people to take some goodies home with them. Balloon clusters were taped to this table as well.


For the kids, I made "Ellie Badges," the cute little grape soda bottle cap pins that Ellie and Carl wore in the movie. I designed the labels myself and adhered them to bottle caps that I saved (tutorial soon.) There are several shops on Etsy that sell similar pins, but I knew I could make them myself (and I had a lot of fun doing it too.)

I also designed Wilderness Explorer Badges like Russell wore in the movie. I handed these out for the kids to color and cut out at home. I wanted to also make felt sashes for each of the kids to be able to glue the badges to, but I ran out of time. I'll be sharing these printable badges with you soon too :)


For the adults, I made simple sandwich cookies by purchasing store-bought sugar cookie dough and mixing sprinkles into the dough to make colorful cookies. I then made more cream cheese frosting and sandwiched it between two cookies. Each guest received 2 cookies in each cellophane bag tied with ribbon. Luckily, we had some leftovers :)

The Dress


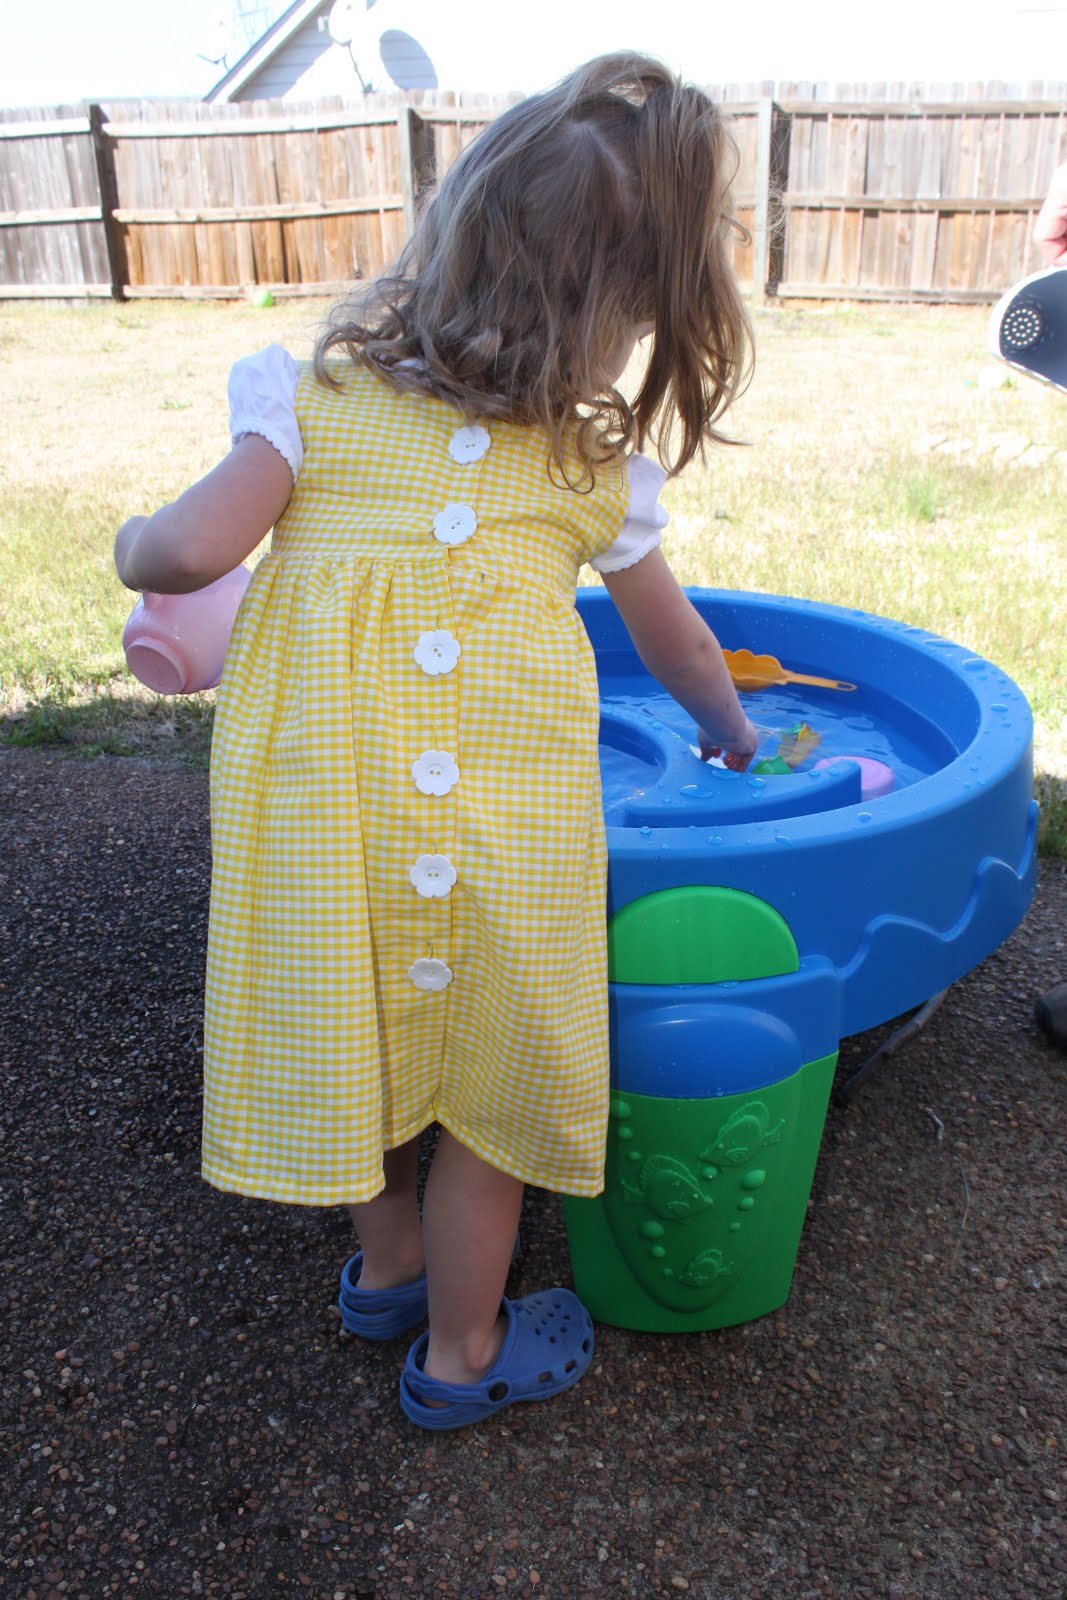
For the birthday girl, I wanted to make her a dress to wear that would look like something Ellie wore in Up! I bought some yellow gingham and flower buttons and followed this tutorial for The School Girl Jumper by Simple Simon and Company. It turned out really cute! And of course, she wore the Ellie Badge that I made her to complete the look.


I sewed cute flower buttons down the back of the dress to complete it. I also had cute little shoes to wear with the dress, but Haley loves her Crocs and it was her special day, so I wasn't about to push it :)

---------------------------------

I hope you enjoyed all the party details! It was a really fun party to plan, especially since I had so much creative reign since there aren't any commercial Up! party supplies out there. 

I'll be sharing the DIY projects that I made throughout the week in case you're planning an Up! party too.

Check out my sidebar to see where I link up each week!

LinkWithin

Related Posts with Thumbnails