Showing posts with label gifts. Show all posts

Monday, May 7, 2012

Mother's Day idea: DIY photo canvas

Mother's Day is coming up this weekend, and I have 0 Mother's Day projects for you. A big, whopping 0. Probably because all I want for Mother's Day is to be served breakfast in bed while I sit around all day watching DVR'd shows and my husband cares for my angelic children and fetches me anything I want.

That's all.

Just kidding, while I know my husband is going to let me relax as much as possible, I realize that I have 2 kids under the age of 4 whose main goal in life is to destroy everything of value, and that means both parents are on Child Watch 24/7. 15 minutes of silence means that somebody probably found the Closet of Forbidden Toys (yes we have one of those) and is currently decorating the hallway with markers. In fact, just 5 minutes ago as I was writing this post I caught my son sucking on the rubber tip from one our door stops. On the plus side, he's probably immune to most sicknesses with all the stuff he's put in his mouth.
 
Even though I'm off the hook, I still wanted to make something for my Mom and Mother-in-Law for Mother's Day. Luckily, Pinterest came through for me again with this awesome idea for a DIY canvas at Sarah's Never Ending Projects. Her brilliant tutorial teaches you how you can make your own photo canvas using your printer, tissue paper and Mod Podge - perfect for Mother's Day.

I got out my supplies while the kids were running around the house like maniacs and whipped this baby out under 30 minutes (minus drying time.)


I used an 8x10 canvas, which left enough room to overlap the canvas on the side with the tissue paper so it looks more like the real deal. I'm super happy with the project, it really looks like I bought it online - minus the couple of spots I rubbed the tissue paper off accidentally. The colors came out a little funky, but that was my printer's fault. I probably should have played with the color a little more before printing. Oh, and if you're wondering why I didn't make one of BOTH of my kids, it's because my son can't sit still for 1 minute so I can get a decent picture of him.


So Mom or MIL if you're reading this, I didn't get you breakfast in bed, but I did get you a picture of one of my angelic children minus the destruction. And if any of your are looking for a great project for Mother's Day, I definitely suggest making a DIY Canvas. I'll be making many more of these for my house once I can get Connor to sit still one of these days.

Monday, January 30, 2012

"I was soapin' you'd be mine" Valentine gift {soap tutorial and free printables}


After my recent adventures in soap making, I got a little hooked. I just can't tell you how easy it is! I'm doing the 'melt and pour' method of soap making though, the kind where all I have to do is....well, melt and pour the soap.

When I told my husband that I learned how to make soap, he pointed out that I'm not actually making the soap, I'm just mixing it. Way to crush my little crafting heart. Next time he goes to play one of his computer games I'm going to remind him that he's not actually a wizard.

So there.  

So back to making soap. I have these cute silicone heart molds that were meant for muffins, but why make muffins when I could have a year's supply of heart soap? I also included some free downloadable tags so you can give them as gifts.


Supplies:
  • Glycerin soap 
  • Red food dye 
  • Silicon heart mold
  • Fragrance of your choice
  • Cellophane baggies
  • Free printable tags HERE
  • Ribbon
  • Cardstock
  • Hole punch
  • Decorative edge scissors

First, follow the instructions on the back of your glycerin soap to melt your soap in small batches (5 or so ounces at a time). I like to use a kitchen scale to weigh out the soap, then melt it in a clear measuring cup to make it easier to pour.


After you have your soap melted down, stir in your desired amount of food coloring until the color you want is achieved. Next add your fragrance according to the package directions.


Pour your soap into the mold and allow it to dry. Mine took approximately 30 minutes, but time will vary based on size of the mold and amount of soap.


After it's cooled, pop your soaps out of the mold, and it's ready to be bagged!


I made some free downloadable gift tags that you can download HERE. Just print on cardstock and use decorative scissors to cut them out.


To package my soaps, I put a couple of them in a cellophane bag and tied it with ribbon. Then, I punched a hole in one of the sides of the tags and threaded one of the ends of the ribbon through it.


Simple and cute. These heart soaps would make a great Valentine gift for co-workers or friends!


Check out my sidebar to see where I link up each week!

Tuesday, January 17, 2012

Link love and a portrait of Connor

Back in October, I have the pleasure of winning a giveaway over at one of my regular blog reads, Dee*Construction. Do you have a blog that you love to read because it makes you want to live in that person's living room (in a non-creepy way)? That's Dee's blog. It's the one I like to sit and page through on lazy days in my pj's with a hot cup of coffee. It has a wonderfully vintage, homey-feel that I can't get enough of.


All photos property of Dee*Construction
I'm one of those people who would love to have a house full of vintate-y things, but since it doesn't come naturally to me, my house ends up looking more like a garage sale. That's why I live vicariously through blogs like Dee*Construction, Bleubird Vintage, and Cakies.

Besides peeks into daily life, Dee also has tons of wardrobe refashions and makes the most adorable dolls. Oh, and she's expecting baby #5 soon. I don't know where she finds the time to do it all. If I had 5 kids, I'm pretty sure I'd just hang out in sweats all day watching reruns of What Not to Wear on a pile of laundry. I can barely attempt to craft with 2 children.

Like I was saying, back in October I entered one of Dee's giveaways to win a custom portrait from one of her sponsors, Stella of the blog The Golden Adventures of a Very Dark Horse and the shop Frank and Dean. When I enter giveaways, it's usually something I do without really expecting to win, so I was so thrilled when Dee notified me that I won! The prize was a custom portrait of a person and background of my choice.

After a lot of deliberation, here is the picture I decided on (my Connor boy back when he was little and squishy!):


Here is Stella's portrait based on my photo and background choice:


Isn't it awesome? The likeness and colors are just beautiful, I feel so lucky to have won the giveaway! The portrait is hanging out on my mantel right now, along with my DIY hurricane vases that I worked back into my mantel decor after Christmas.


If you're looking for a custom portrait, shoot Stella an email. She's one talented lady!

Sunday, January 15, 2012

BFF Coffee Cozy


I have to have my coffee in the morning. And I mean, a big ol' cup of it. My husband jokingly says I have a bucket of coffee in the morning. A bucket is one of the standard coffee measurements, right? Tall, grande, venti, bucket. Yep.

Maybe "bucket" is comparable to Starbucks' alleged "trenta size" which is apparently larger than the capacity of the human stomach. 31 ounces of coffee. Talk about your coffee buzz. Is it bad that I want to try this? That sounds like the right amount it would take me to start my day off without being a troll.

Since it's beginning to actually feel like winter in Tennessee (and also due to the fact that I've been drinking multiple buckets of coffee thanks to my new Keurig that I got for Christmas), I wanted to share a coffee sleeve that I made for a friend awhile ago.


It's a simple sleeve that I made by tracing a cardboard Starbucks sleeve on 2 layers of felt, adding additional felt coffee and muffin characters, then finishing it off with a blanket stitch around the edges. I also added a few french knots for the blueberries and couple seed beads for the eyes on the coffee cup.

Maybe one of these days I'll actually keep something I make haha.

Check out my sidebar to see where I link up each week!

Friday, January 6, 2012

Melt & Pour Honey Almond Oatmeal Soap

In my roundup of quick handmade gift ideas for the holidays, one of the projects I listed was the honey almond oatmeal soap over at Just Deanna. I was looking for a quick gift idea for my co-workers, so I decided to try it out! The process was so easy, but it was the name that got me.

Honey? Good. Almond? Good. Oatmeal? Good. All together in a soap? Awesome.

I gathered all my supplies at Hobby Lobby (I just needed some soap and fragrance, I already had the oatmeal at home) and got to work. Let me tell you, this is SO easy to do. Deanna said this project is perfect for a kid to do, and she's so right. All that was involved is melting, mixing, and pouring.

I may have found a new obsession.


I always love getting blocks of yummy smelling soaps that look like they come from fancy boutiques.


I'll let you check out Deanna's post for the actual soap making tutorial, but I did change the quantities around some because I found the amount of oatmeal to be too much, and I substituted shea butter soap for the goat's milk soap. Instead of mixing 6 cubes of soap with 1/2 cup of oatmeal, I actually cut the oatmeal in half and mixed it with 12 cubes of melted soap at a time. This left me with about 2 1/2 batches instead of 5. The oatmeal that you add in makes it great for exfoliation, but if you'd rather have a nice solid bar of soap, you can leave that out.


I wrapped them in freezer paper and used my Silhouette to cut out some cute tags that I attached with embroidery thread.


My co-workers loved them! I only wish I had made more, the soap itself is really creamy and the smell is delicious. The honey almond fragrance is light and not overwhelming at all. Best of all, the whole process to produce a batch of 6 bars took under half an hour. I'll definitely be making more in the future.

Check out my sidebar to see where I link up each week!

Wednesday, December 21, 2011

Gifts that can be made in an hour or less

It's crunch time! I can't believe Christmas is 4 days away. If you're like me, you've probably procrastinated a little bit.

Here's a roundup of some quick and easy tutorials that are mostly upcycled from things you probably already have on hand, and can be made in an hour or less.

Click on the pictures below to be taken to the full tutorial.


Thursday, September 22, 2011

Preparing for Baby

Not me, thank you very much. Not yet anyway, I'm having enough fun juggling two right now to think about a third just yet!

Has anyone else noticed that everyone seems to be pregnant or having babies lately? Dana over at MADE just announced that she's pregnant with another little girl on Tuesday - so excited about all the adorable baby projects that are sure to follow! And of course Katy over at No Big Dill just had her 6th child - a little boy! I can't wait to see all the fun boy stuff. I imagine that making boy things after having 5 little girls to sew for must be exciting and intimidating. Then there's Rubyellen over at Cakies who just had her 4th little girl. There's something in the water...and I'm not ready to drink that Kool Aid quite so soon after the last one.

But, if you are pregnant, or you have a friend that is, The Dating Divas have some great ideas on how to prepare for baby. They included some great ideas for essentials like preparing your husband, getting maternity pictures taken, getting your other little ones ready for the new baby, and of course making time for yourself - something that we ladies forget to do!

And you might even see my Hospital Survival Kit for New Mothers over there as part of the roundup :)


Go check out all the fantastic ideas to prepare for a new little one over at The Dating Divas. And in just a few weeks, I'll be blog swapping with them - so excited!

PS - have you taken a guess at what I've been up to lately to win a mystery prize? If you're a follower on Facebook, I've been giving little hints along the way :)

Monday, September 19, 2011

My new flash!

So this came in the mail recently....


My brand spankin new Canon Speedlite 430EX II!

I have been so bummed about some of the pictures I've been taking lately. I so wish I had the ability to stay at home with my babies and craft during the day like many of you other lucky ladies out there. If so, I would be able to craft during the day and take pictures then when the lighting is perfect. Right now, I need to work to help bring home the bacon, so the majority of my crafting is done at night - which makes for over exposed, often yellow pictures.

It's really a huge let down when I work so hard on projects and then staging them just so, and then they turn out yellow due to poor lighting. But not anymore now that I have this baby! My husband spoils me. I won't even list the many things we've purchased for me this year. Let's just say I won't be getting any Christmas, birthday, or anniversary gifts for the next few years. And I'm totally cool with that.


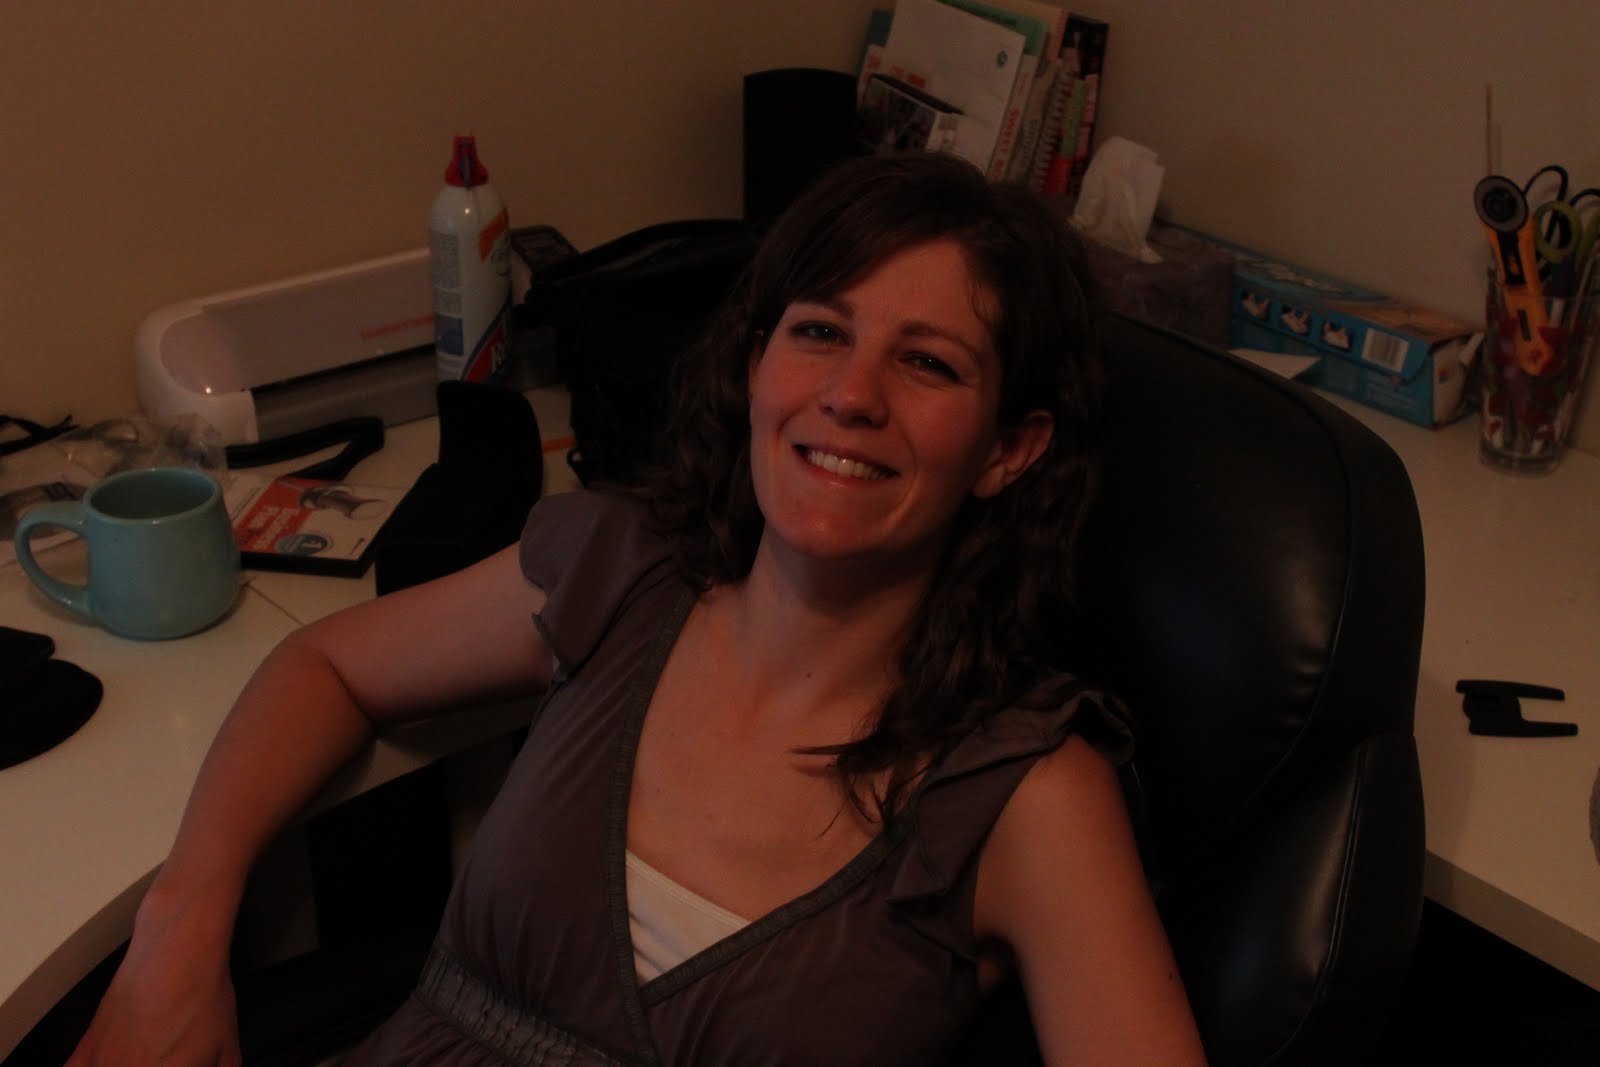
I still need to read the instruction book to really get the hang of the new flash, but I'm already loving it in auto mode. I played around with the flash some to see how big of a difference it really made with my pictures (please ignore the messy craft room!)


1. Without flash

2. With standard flash that came with my Canon Rebel


3. Speedlite pointed directly at me

3. With retractable wide panel down


4. Speedlite at a 75 degree angle

I can already see a HUGE difference with my Speedlite. It lightens up the shadows and makes all my pictures look much more natural. Plus, since the flash is adjustable, I can use it to bounce light off the ceiling and walls for better pictures. I'm SO excited to start using it with all my projects in the evening. No more over exposed pictures that I spend forever editing. I'm one happy girl!

LinkWithin

Related Posts with Thumbnails