Tabs

Tuesday, May 29, 2012

Wall Decal Giveaway with Designed Beginnings

 **This giveaway is now closed**

Decorating a room can be one of the most fun (and sometimes most frustrating!) things. Before my son was born, I knew he had to have a Steeler's-themed room because my husband is pretty much a fanatic and he would have written it into the marriage contract if he could have. The problem is, there isn't a lot of Steelers-themed baby stuff out there and I was too tired and pregnant to paint something permanent on the wall, so I ended up using thumbtacks to pin pennants all around the room and called it a day.

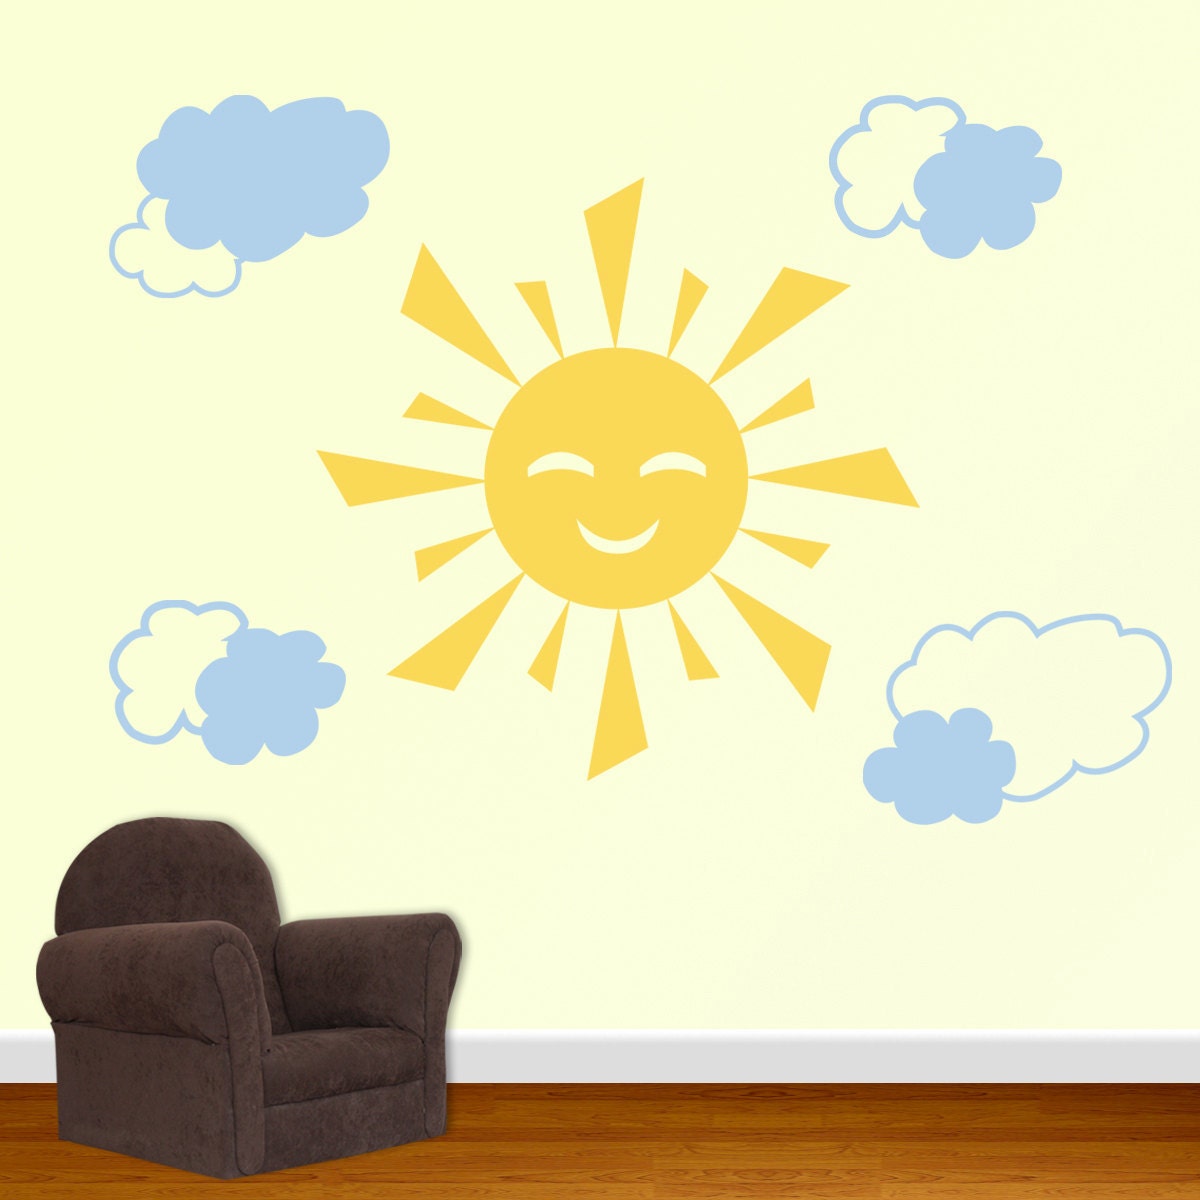
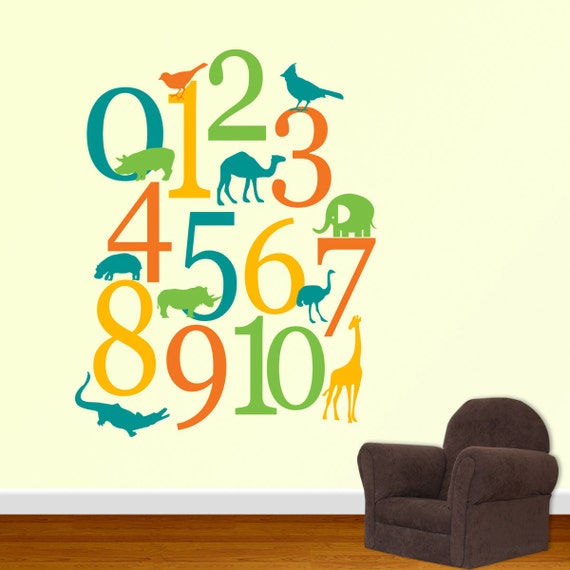
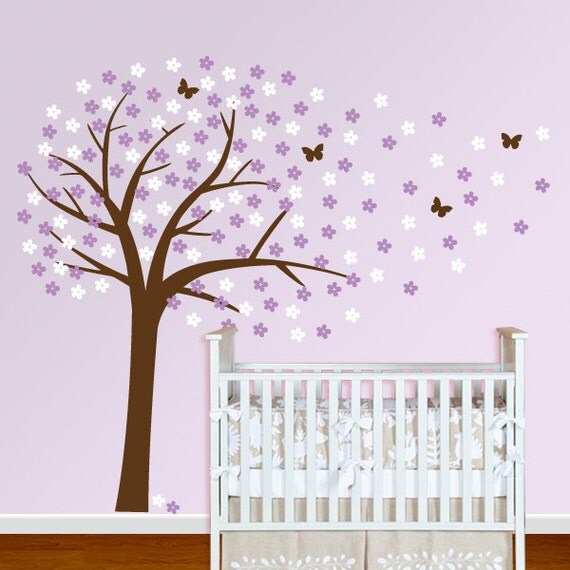
Fast forward almost 2 years later, and there are plenty of things I would have done differently, including getting some decals to help me out of my decorating funk. Ragan, the owner of the Etsy shop Designed Beginnings, has a great selection of children's and nursery wall decals including growth charts, monogram decals, and other super cute decorative decals. Wall decals are a great way to enhance the look of any room without the pressure of the decorations being permanent (AND you can avoid a nursery full of thumb tacked pennants like me ;) I had a great time browsing through all of the different designs - and there were too many I loved to narrow down a favorite!


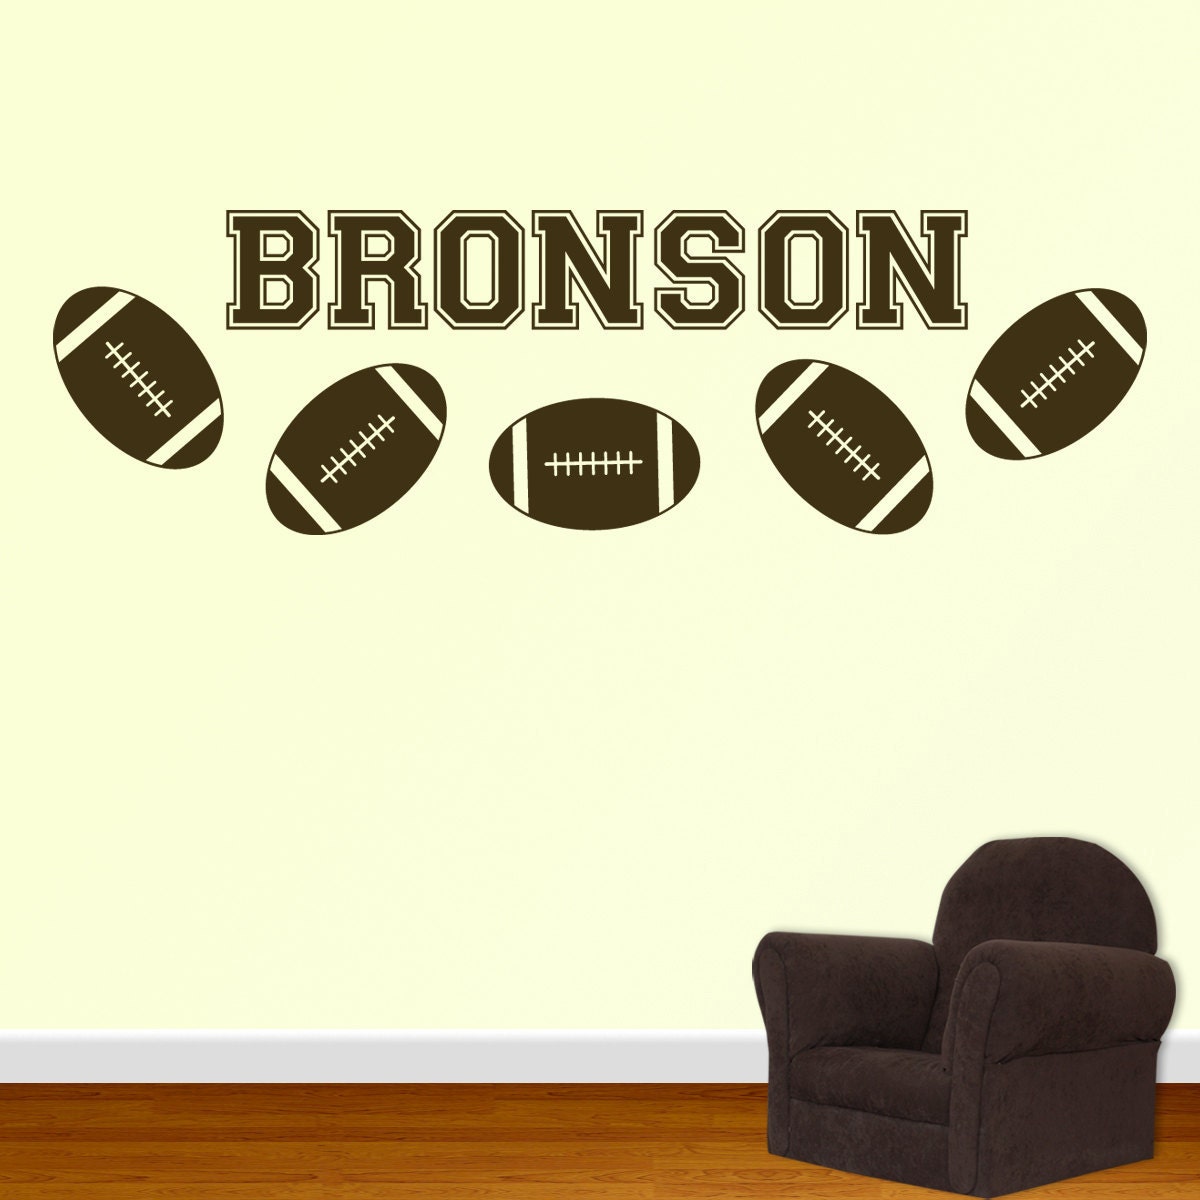
I obviously need to get this Football Decal right away before Connor grows up and sees the shameful state of his nursery:


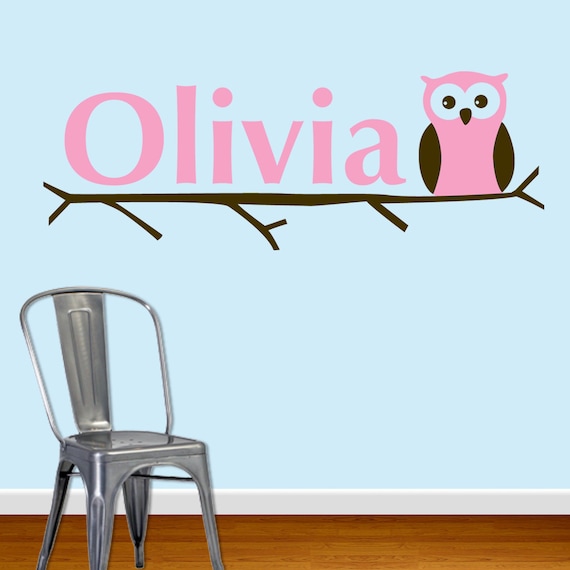
And even if you don't have any kids, you could always get your last name in vinyl
as a great addition to your living room:

Now for the fun part, I get to give one of these awesome wall decals away! Designed Beginnings is offering one of my readers a decal of their choice up to $50.

For 2 chances to win, do one (or both!) of the following:

1. Like Designed Beginnings on Facebook and leave me a comment that you did
2. Visit Designed Beginnings on Etsy and leave me a comment with which decal you'd pick if you won

Please make sure to include your email address if it's not linked to your profile.

Even if you don't win, Ragan is offering my readers a 20% discount on all items in her shop when you use the coupon code "myownroad" when you check out. This discount expires on June 5th.

The winner of the giveaway will be announced here Friday June 1st. Good luck! 

Monday, May 28, 2012

The farmer's market


My parents were in town for Memorial Day weekend, so we had some fun picking strawberries and exploring one of the local farmer's markets. Haley was in her element. I have 4 small strawberry plants in my garden but we're rarely able to salvage any of the berries before the birds get them. When we do manage to find one or two berries, I make a big production out of it and let Haley pick, wash and eat them. At the farm though, she was surrounded by rows upon rows of strawberry bushes with fresh, plump berries. She was giddy with excitement.


Grandpa had to guide her a few times to make sure she didn't pick berries that were a little too green, but for the most part she knew exactly which ones to pick. By the end, we had a whole bucketful waiting to be used for topping cereals and ice cream.

 
After strawberry picking, we browsed one of the local farmer's markets that opens up each weekend during growing season. There were so many fruits and veggies to choose from, it was hard not to buy everything. My mom and dad loved it. As a kid, I have many memories of my dad dragging my brother and I out to some farm hours away from the house to get fresh produce and enjoy some country air. 

One of my favorite memories as a kid was driving out to a farm owned by a Mennonite family an hour or so away in the countryside. They raised cattle and other livestock on site, and my brother and I would wander around the grounds looking for baby kittens in the barns. We were usually able to find a few unfortunate kittens that wandered away from their mothers, and we carried them around with us before my mom and dad made us pile in the car for home. My favorite part of the visit though was always the homemade ice cream made with fresh cream from their cows. Mmm, as I sit here writing this, I can still taste the creamy scoop of coconut ice cream that I would always get.


They didn't have homemade ice cream at the market, but they did have plenty of everything else. Everywhere you looked there were vendors from local farms offering the pick of the crop or jars of homemade jellies, relishes and baked goods. by the time we headed home, we had several bags worth of blueberries, beets, fresh corn, and one giant watermelon perfect for Memorial Day.

Make sure you come back tomorrow, I have a great giveaway for you!

Friday, May 25, 2012

Week in Pictures

1. Making zucchini chips 2. Baby Mozarts 3. Shadow play 4. Strawberries from my garden that we got to before the birds did 5. Waffles for dinner 6. Weekly ride on the merry-go-round

Wednesday, May 23, 2012

Changing table to craft station


Sorry about my rant earlier in the week, and thanks for being so understanding! Now onto happier things :) After my post on how I organize my fabric, I thought it'd be fun to share a little bit more of my craft room and how I organize all my ever-growing craft supplies. I'm certainly no expert on organization, but I like to keep things simple and use what works, and this baby in the picture above has helped keep all my stuff nice and clutter-free for the past several years. Yep, my craft station is actually a children's changing table and hutch combo that I scored off of Craig's List a few years ago. And it's perfect.

Prior to my current storage solution, I had been using small canvas storage bins to hold fabric and supplies and I was quickly outgrowing them. My husband, Patrick, and I searched the internet to find something affordable that could store all my stuff, but everything that we liked was pretty pricey. While browsing Craig's List one day, Pat found a changing table/dresser for dirt cheap and just knew it was exactly what I needed to store all my crafty stuff.  That same day, we made the 2-hour trip to pick it up, and I'm SO glad we got it before someone else did! I really couldn't ask for anything better, it's surprisingly perfect for storing craft supplies.


The small shelf above the changing area serves as storage for my paints, glue, and other miscellaneous supplies. The bar itself, which is supposed to keep everything from falling onto the changing area below, is used for ribbon storage. This is my favorite part about the craft hutch itself because all of my ribbon is displayed for quick selection and cutting, and the bar can be easily removed to add more.


I use the top of the hutch as storage for my books, iron, and a box of jewelry supplies.


The three drawers serve as a great way to separate my bias tape, ribbon, patterns, and clothing waiting for refashioning into separate compartments (which I know needs even more organizing eventually :). I keep my main supplies in the top drawer so they can be accessed easily.


I have a lot of fabric, so the drawers are perfect to store these. If you remember my post from last week, I used cereal boxes to create mini fabric bolts to organize and store my fabric (I keep more in the cabinet door below and in another small bookshelf  on the floor). The small shelves on the right side of the hutch are perfect for storing the mini bolts and felt squares.


So that's my little craft hutch! I have big plans in the future to repaint the whole thing, remove the backing and replace it with pegboard, and replace the knobs. But that's a project for another day. for now, the hutch is perfect for keeping all of my clutter hidden and organized.

Do you have any organization tips that you'd like to share? I'd love to hear them!

Check out my sidebar to see where I link up each week

Monday, May 21, 2012

A rant and some blog etiquette

 Source: Someecards

Let me preface this post by saying I love you all and I'm sorry for the lengthy rant, but I need to say state some touchy things I have avoided mentioning in the past, and also go over a little blog etiquette. If you want to avoid listening to my rant, please feel free to skip to a happier post :)

I  was informed by a reader this past weekend that someone was selling one of my free printables as their own. I contacted the person and she was very apologetic and removed the product right away, but I was initially pretty upset to know that someone was (knowingly or not) profiting off of something that I made myself and offered here for free to my readers.

As  an individual who loves to create, I enjoy sharing my ideas on this blog in hopes of giving other people some inspiration or the chance to try a project that they hadn't thought of before. I have a full-time job, so most of my craft time is done after my kids are asleep or on the weekends during nap time. It takes a lot of time (and money!) to put a project together, take pictures, edit the pictures, write the post, then promote it to different link parties. I would love to sell my projects, but right now, I don't have the time or money to do so. I have no sponsors  or huge companies throwing their products at me. The giveaways I do promote on my blog are typically mama's like myself who are trying their best to share products and ideas that they have put their blood sweat and tears into, and I'm happy to help them in any way I can! The tiny bit of money I do make (and believe me, it's tiny) is from Google ads. One day, maybe I'll be a big famous blogger who can sell the patterns and stuff I make, but for right now, my blog is my personal creative space where I get to spend some much needed "me time" creating and sharing my projects with you wonderful people for free.

Will I stop sharing my tutorials and projects? No. It makes my day when I get an email from someone who has made something from one of my tutorials! But peoples' projects and tutorials are still their property, and I think there are some important things everyone should remember.
  1. Please don't try to sell someone else's project. That's just not cool. If it's not your creation, then it's not yours.
  2. If you made something from another person's tutorial and post about it on your blog, don't recreate their tutorial. They put a lot of time into making that project! Pictures (and links) of your final project are perfect. 
    1. Here are some examples of projects I made from others' tutorials:
      1. Reversible Tunic by Sewing in No Man's Land
      2. Simple Skirt by MADE
      3. Doily Shirt by Maybe Matilda
  3. If you post about a project made from someone's tutorial, link back to the original blogger's post. Extra bonus points for emailing the blogger and letting them know you made their project. I guarantee you they will love to see the project you made with their tutorial (and they may even post about your project on their blog - more traffic for you, sweet!)
  4. Also, don't be a Debbie Downer. No one likes negative comments. If you don't have anything nice to say, don't say anything at all. If you have something that you think really needs to be said, please email the person directly rather than posting it in the comments section.
So all I'm trying to say is, just be respectful! Most craft bloggers are just mama's like me who have a passion for creating (and doing it for free.) 

Thanks again to all my readers and for your constant support. If it wasn't for you, I would have given up blogging long ago!

Friday, May 18, 2012

Week in Pictures

1. Haley's first candy necklace 2. Riding on Daddy's shoulders 3. A refreshing drink 4. Eating at a fun local restaurant 5. A visit to the ER

It's been quite the week this week...Connor had a trip to the ER recently when he was having a bad night. It was the perfect storm of a double ear infection, oncoming virus, and teething. He's OK, but he gave us quite the scare. Here's to a less eventful weekend :)

Tuesday, May 15, 2012

Mother's Day (a couple days late)

So I know I'm a couple days late on this, but I just had to share a little about my Mother's Day. It was a nice, relaxing day where my wonderful husband took over all the child-related duties and let me lay in bed watching TV all day. It was wonderful. I even got to take a nap, which may not sound too thrilling to you, but it was one of the highlights of my day!

My very favorite Mother's Day moment happened during our breakfast at IHOP that morning:


(Please don't look at my lack of makeup or hairstyle lol - it was Mother's Day, and I took full advantage of not doing anything that day!) 

Connor had been making a pretty big scene as he sat across the table from me at IHOP (in that first picture, he's smacking my husband on the head with his paper placemat.) We tried toys, food, a bottle, nothing seemed to cheer the boy up. We eventually got worn out, at which point he decided to to climb on top of the table and then crawl across to sit on my lap and cuddle with me. From then on, he was a happy boy (for the most part, he is only 1 1/2 after all :)

Just another reason to be thankful for being the Mama to my 2 wonderful kids :) I hope everyone else had a great Mother's Day too!

Friday, May 11, 2012

Week in Pictures


 1. Daddy gets a Spongebob band aid for his boo boo 2. Connor's Starbuck's obsession (don't worry, it's just a strawberry smoothie :) 3. I actually have actual strawberries growing in my garden! 
4. Ostrich burger 5. Bedtime stories

Yay, it's Friday! After a long, busy weekend I'm definitely ready for the weekend. This week has been pretty interesting. The highlight was when I tried an ostrich burger for the first time - definitely an experience. Not so sure I'll get it again (it has a flavor that you can't seem to compare to anything else), but I'm glad I tried it. My friends tease me that I eat the weirdest things, and it's true. I'm always the one who will pick out the weird looking foods at buffets because I'm curious. That gets me in trouble a lot, but sometimes I discover a new food I really like. Can't say the burger is a new favorite, but at least now I can say I tried ostrich :)

We're still in the process of trying to sell our house, so that's made us very anxious and impatient, but we both continuously remind ourselves that God has a plan, and it's better than ours. 
 
Have a great weekend everyone!

Wednesday, May 9, 2012

Fabric bolts from cereal boxes

My name is Jen and I have a problem. This is my fabric stash.


Ok, well it's part of my fabric stash. It's a giant mess. Pieces of fabric are everywhere, and I hope you're not expecting me to have everything in alphabetical order by designer, color, and pattern because that's pretty much never happening.

I feel like a crafting failure sometimes when I see pictures of peoples' gorgeous sewing rooms. Everything is in its proper, labeled place, and heaven forbid there be anything in the room that doesn't match the color scheme. There's no mess, no half-finished projects laying on the ground. And definitely no toys scattered on the floor.

I'm convinced these people don't have children. They borrow neighbor kids for photo shoots.

There's a reason I didn't show you the rest of my sewing space. I share it with a bin of toys that belong to my kids, and the bin stays organized for about 5.4 seconds before it looks like a hurricane hit the room. I love having the toys in the room because I can still craft and play with the kids simultaneously, but my pieces of fabric everywhere doesn't help the mess.

But I wanted to do what I can to organize the room because, let's admit it, I can't pin the blame for that messy fabric pile above on my kids. I saw this tip on The Little Green Bean for using foam board to make mini fabric bolts. It's a great idea, but I wanted to use something I had on hand.  Then it came to me - cereal boxes! Cereal is something I eat a LOT of, so why not re-purpose the boxes rather than throwing them away?


First, cut your cereal boxes so you have a pile of just the front and backs of your boxes.


Next, use hot glue around the perimeter of one of the front sides of your panels.


Place the other panel on top of it and voila, instant mini bolt! It may not look like anything special, but just wrap your fabric around that baby, and your stash will stay organized!


Ahhh, much better.


So much better than the messy pile right? Too bad I have 4 times more fabric in the drawers below. I have a lot of cereal to eat.

Note: Since cereal boxes are small, you may need to fold your fabric in half length-wise (possibly more than once) to be able to fit them around your cereal box bolt. 

Check out my sidebar to see where I link up each week!

Monday, May 7, 2012

Mother's Day idea: DIY photo canvas

Mother's Day is coming up this weekend, and I have 0 Mother's Day projects for you. A big, whopping 0. Probably because all I want for Mother's Day is to be served breakfast in bed while I sit around all day watching DVR'd shows and my husband cares for my angelic children and fetches me anything I want.

That's all.

Just kidding, while I know my husband is going to let me relax as much as possible, I realize that I have 2 kids under the age of 4 whose main goal in life is to destroy everything of value, and that means both parents are on Child Watch 24/7. 15 minutes of silence means that somebody probably found the Closet of Forbidden Toys (yes we have one of those) and is currently decorating the hallway with markers. In fact, just 5 minutes ago as I was writing this post I caught my son sucking on the rubber tip from one our door stops. On the plus side, he's probably immune to most sicknesses with all the stuff he's put in his mouth.
 
Even though I'm off the hook, I still wanted to make something for my Mom and Mother-in-Law for Mother's Day. Luckily, Pinterest came through for me again with this awesome idea for a DIY canvas at Sarah's Never Ending Projects. Her brilliant tutorial teaches you how you can make your own photo canvas using your printer, tissue paper and Mod Podge - perfect for Mother's Day.

I got out my supplies while the kids were running around the house like maniacs and whipped this baby out under 30 minutes (minus drying time.)


I used an 8x10 canvas, which left enough room to overlap the canvas on the side with the tissue paper so it looks more like the real deal. I'm super happy with the project, it really looks like I bought it online - minus the couple of spots I rubbed the tissue paper off accidentally. The colors came out a little funky, but that was my printer's fault. I probably should have played with the color a little more before printing. Oh, and if you're wondering why I didn't make one of BOTH of my kids, it's because my son can't sit still for 1 minute so I can get a decent picture of him.


So Mom or MIL if you're reading this, I didn't get you breakfast in bed, but I did get you a picture of one of my angelic children minus the destruction. And if any of your are looking for a great project for Mother's Day, I definitely suggest making a DIY Canvas. I'll be making many more of these for my house once I can get Connor to sit still one of these days.

Friday, May 4, 2012

Week in Pictures

1. a trip to the car wash 2. sushi with friends 3. amazing cupcakes with the BEST peanut butter frosting 4. decorating with sidewalk chalk 5. trying a new beer (I think I'll stick to the original thanks)
Happy Friday everyone! This week, I've done a lot of eating (if you couldn't tell from the picture above :) I got to have sushi TWICE this week, which is a really rare treat. A friend of mine introduced me to squid salad a few years ago and ever since then, I just have to have one each time I go to get sushi. I can't get enough of the stuff. In fact, when I was pregnant and on bed rest with Connor, I craved it so much that my friend brought some to the hospital for me. The idea of squid salad may sound a little weird but try it. Trust me.

I also tried some amazing cupcakes with mile high-frosting that tastes exactly like my mother-in-law's peanut butter fudge. And luckily, it's right across the street from my house. Which is dangerous. One of these days I'll write up a post for the peanut butter fudge. I am not a fan of fudge usually, but this stuff is life changing.

Aside from that, we've had a pretty routine week with a trip to the carwash (which both kids thought was pretty terrifying) and decorating the sidewalk with sidewalk chalk. We're still trying to sell our house, so fingers crossed for that!

Hope your week has been great (and full of yummy food) too!
Photo layout c/o Katrina of Pugly Pixel

Wednesday, May 2, 2012

Wooden bead necklace

I'm always on the lookout for easy projects that I can do with supplies I have on hand. You know, the kind that you can do in between dinner when you have a toddler attached to your leg and a 3-year-old begging to watch Barbie Mermaid Tale for the 30th time that day? Yup, that was me yesterday.

Recently, I've been finding a lot of really great new blogs that I keep adding to my ever-expanding list. Like I need another blog to read. Sometimes I wish blog stalking was a vocation, but then I think about how if that happened, I would probably live solely off of coffee and NutriGrain bars while my body slowly became one with my computer chair. Probably not the best way to go.

While doing my usual blog reading, I came across this awesome tutorial for a simple beaded necklace from Fine and Feathered that fit my criteria exactly. I love the simplicity of it, so I decided to make one for myself.


Oh, and did I mention that it involves only wooden beads and suede cord? I felt like I was at craft camp. Except for at my house. And macaroni art wasn't involved.


I followed her basic idea for how to make the necklace, but I used different beads and made the necklace in one piece rather than making a separate loop with the beads. What do you think? I'm really loving it. I'm really into the whole southwestern kick right now, and I feel like this necklace will be the perfect accessory for my outfits that fit that theme.

I'm kicking myself for throwing away the giant bag of wooden beads I tossed several years ago. When I was 18, I had this elaborate plan to make a bead curtain in my room (and yes, I realize that we're no longer in the 70's, I don't know what I was thinking.) Now I'm just wishing I had more wooden beads to make several hundred more bead necklaces.